It seems simple enough: Take a picture of your nails. But once you snap your photo and compare them to the gorgeous images online, you wonder: What am I doing wrong? Don't feel bad; taking a good photo of your nails can be challenging, especially when you're trying to capture the details and colors of your nail art. Use these tips and tricks and you'll be posting inspiration on Insta in no time!
Find Good Lighting:
The key to a great picture, whether inside
or outside, is lighting. But when you're outside you don't have to worry about
setting up lights; natural light is your best friend! The best time to take pictures
is during the golden hour, which is the hour after sunrise (if you're an early bird)
or the hour before sunset when the light is soft and warm.
Look for a shaded area. Direct sunlight can create harsh shadows and alter the nail color, making it appear washed out. If you can't find a shaded area, try using your body or a piece of paper to create a diffused light source. And don't let a cloudy day stop you from snapping! An overcast sky will provide beautiful, even lighting that won't cast harsh shadows on your nails.
Research Hand Positions:
Another important factor to consider when taking photos of your nails is your hand position.
We've all seen the “claw.” No matter how fabulous the nails, an awkward hand position
is distracting. Look online and find the hand positions that appeal most to you. Or try
one of these:
- The Natural: Simply place the back of your hand flat on a surface and slightly curve your fingers. This is great for showing off all five nails.
- The Tilt: For a more creative shot, keep your hand relaxed and try tilting it to the side. This pose is perfect for showcasing a particular nail detail, but be careful not to get too stiff, otherwise the tendons on the back of your hand can take over.
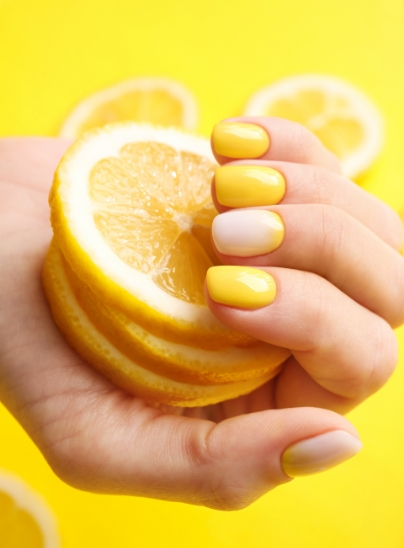
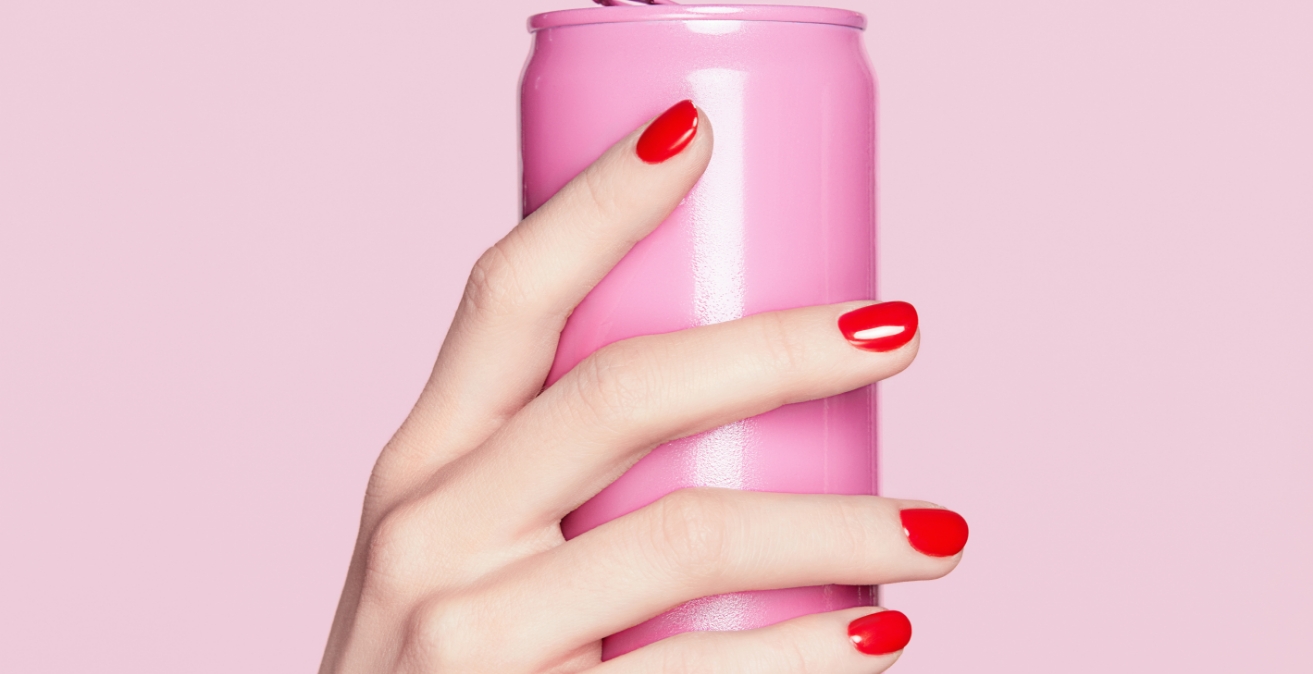
- The Object: Holding onto something, such as a flower or coffee mug, can add visual interest to your nailfie. Hold a smaller object in the palm of your hand so your nails drape naturally over it. Or, if using something larger, like a cup or mug, wrap you hand around it so the focus is on your nails (you may need some assistance to get this one right, though).

Editing Your Photos:
Once you've taken your photos, it's time
to clean them up a bit. You don't need to be a professional photo editor to make
your photos look great, and you definitely don't want to overdo it. There are plenty
of free editing apps available that can help you adjust the lighting, color, and
saturation of your photos. Taking great nailfies outside requires a little bit of
planning and creativity, but by using these tips, you'll be getting a ton of likes
in no time!


