


What Is Cream Gel?
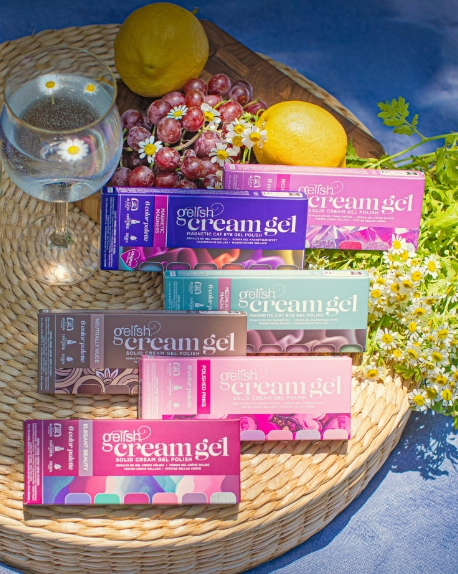
Unlike liquid gel polish that comes in a bottle with a built-in brush, Gelish Cream Gel is packaged in a compact pod and has a thicker, pudding-like consistency. You apply it with a separate gel brush, giving you more precision, more control, and more room to play with nail art techniques (think: creating ombré looks with ease or painting fine lines in one stroke). It's highly pigmented, so you get full coverage in fewer coats, it doesn't flood the cuticle, and it's ideal for everything from full color manicures to intricate detail work. Plus, each palette comes with a six-shade color collection in one!
But here's the catch: It won't self-level the same way bottled gel polish does. That's why learning how to work with it is key to getting those flawless, professional results. Here, we give you a few tips and tricks to ensure that yours applies and wears exactly the way it's supposed to.
Tip #1 Prep your brush. Each Cream Gel palette comes with a custom-designed, flat gel brush with short oval bristles that will help you with smooth and even application. Before you begin, gently run your fingertip through the bristles, bending them back and forth to remove any stiffness. Then, apply a small amount of Gelish Base Gel on a palette and work the brush through it, swiping back and forth until it's coated. This will help keep your Cream Gel from streaking.
Tip #2 Float, don't press. It's natural to want to apply Cream Gel as you would gel polish or even traditional nail lacquer, starting at the cuticle and dragging the brush down the nail to the free edge. But doing this can cause the thicker viscosity gel to streak. Instead, apply it in two sections; this will help you keep control of the product and avoid applying too much gel at once. Start at the center of the nail and apply the product with a light touch toward the free edge. Then, pick up a little more product and go back in at the cuticle and “float” it down the nail. This light-handed floating technique will help keep the product smooth and streak-free.
Tip #3 Thin layers are your friend. Because Cream Gel is so pigmented, a little goes a long way. Build color in thin, even coats to avoid bulk and working with too much product on the nail. You also don't want to manipulate the product too much on the nails, as this will start removing the color with each swipe. Even when working thin, you want to make sure you have enough gel on the brush. If it starts getting thin during application, pick up a little more product with your brush.
Tip #4 Prep your nails. Just like with traditional gel polish, proper nail prep is key to ensuring up to 21 days of wear. Likewise, don't forget to seal the free edge to prevent chipping and extend wear time.
Tip #5 Start with a smooth canvas. As we mentioned earlier, because Cream Gel isn't self-leveling, you have to be careful of streaking, and particularly with light, creamy shades, you can see every nail imperfection. To avoid overworking the product or adding too much gel, make sure your nails are smooth before application. If you suffer from grooves or damage, it's a good idea to apply a strengthening and perfecting base coat, like Gelish Foundation Flex Rubber Base Gel or Gelish Brush-On Builder Gel, to ensure an even work surface.

