.svg)
.svg)
NAIL TECH
Tips &
Tricks For
Brushing Up
Tricks For
Brushing Up
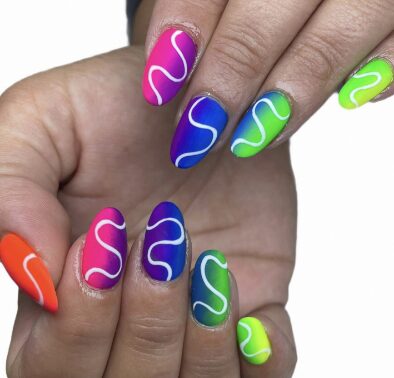
Meet the talented and successful Emily Nash and see how she uses Gelish products in her career to provide fun and vibrant nail art!
BY GELISH
13 December, 2022
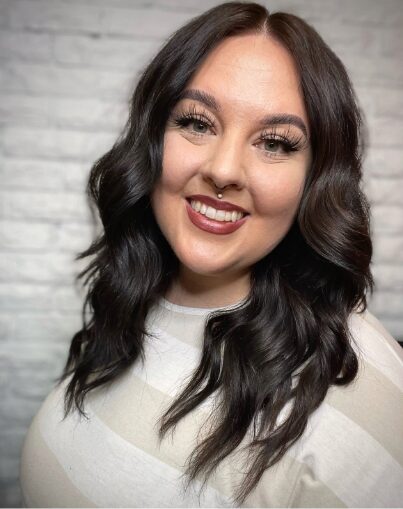
Nail artist Emily Nash (@nailsbyem) of Elkhart, Indiana,
has been doing nails for 10 years. As a successful nail
pro, she has worked on campaigns, shoots, and won
major nail competitions. Since she loves creating
vibrant nail art, a brush is her best friend and favorite
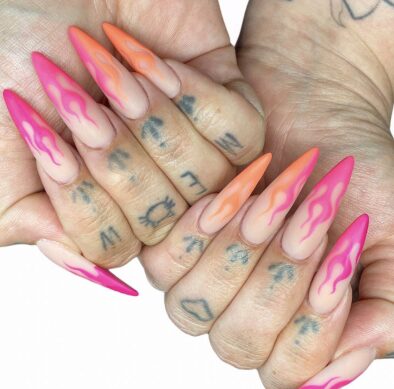
tool. She describes her preferred nail art style as hand
painted, with a particular love of creating “characters,
bright and funky designs” or “a pattern repeating on all
the nails.” With clients and companies clamoring for her
unique artwork, caring for her brushes is a priority.
Brush up on how to use and care for this top art tool
with tips from Emily.
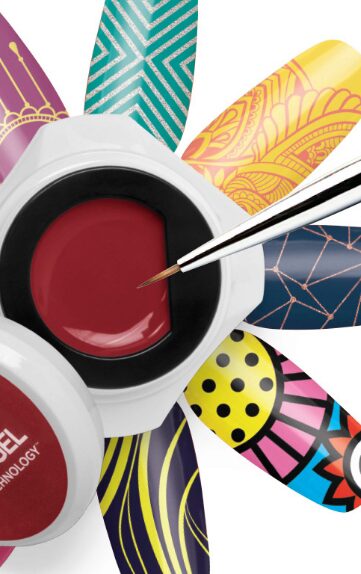
The Right Brush for the Job
“Using the right brush is key in keeping you productive while doing nail art!” says Nash.
Here are the top 3 brushes she can't live without that she suggests every artist have on hand.
Here are the top 3 brushes she can't live without that she suggests every artist have on hand.
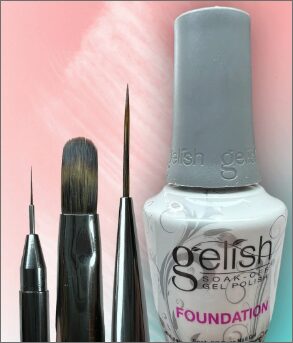
1. GEL STRIPER BRUSH
"It's thicker bristles hold more
product so you can go longer
before picking up more. It's
also easier for filling in larger
spaces and blending out
tiny details."
product so you can go longer
before picking up more. It's
also easier for filling in larger
spaces and blending out
tiny details."
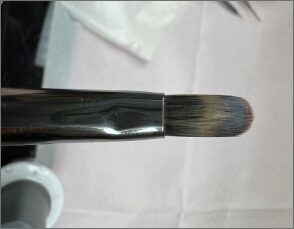
2. OVAL GEL BRUSH
"I cannot live without an oval
gel brush in my collection! It
has so many uses. Blending
out an ombré, blending out
shading, covering a large area
of color, cleaning up lines,
I could go on and on! Definitely a
must have!"
gel brush in my collection! It
has so many uses. Blending
out an ombré, blending out
shading, covering a large area
of color, cleaning up lines,
I could go on and on! Definitely a
must have!"
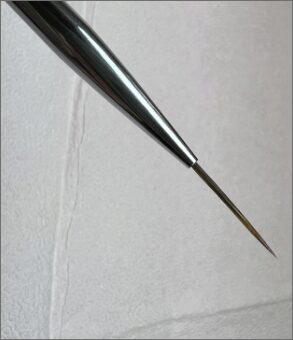
3. MICRO STRIPER BRUSH
"The holy grail in art brushes is
a tiny brush. Fine lines and
small details wouldn't be
possible without this brush in
your collection!"
a tiny brush. Fine lines and
small details wouldn't be
possible without this brush in
your collection!"
How to Care for Your Nail Art Brushes
Once you have your brushes ready, it's important to properly care for them so they last. “My
number one tip for keeping my brushes perfect and making sure the bristles stay nice is,
cleaning out the old gel,” says Nash. Her secret? Base coat! “I know the simple wipe off with a
paper towel or dabbing your brush in acetone does the job, but that is not going to keep your
brush long lasting,” cautions Nash.
Properly cleaning out your nail art brushes, not only saves you money in the long run, but also
makes your job easier. “Have you ever tried to paint a straight line and had to go back and do
more work cleaning up bristle marks?” asks Nash. Here's how to avoid the added hassle:
1.
Wipe off excess gel color gently on a lint-free wipe. No need to scrub out the extra gel.
2.
Place a dab of base gel onto a palette and gently run your nail art brush through the gel in a twirling motion.
3.
Wipe off excess base gel onto the palette and repeat until clean. The base gel will pull the gel color out of your bristle without causing damage to the hairs. Leave a little bit of base gel in the brush to keep the shape nice and don't forget to cap your brush!
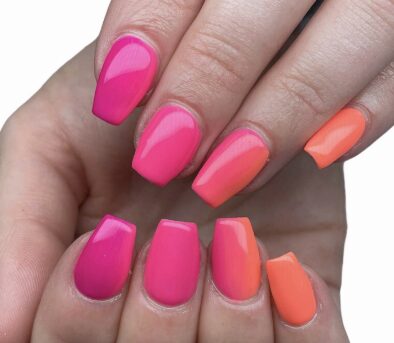
An Emily Ombré With The Oval Gel Brush
Create one of Emily's signature ombré looks with bright colors and her favorite oval gel brush.
Here's how:
Here's how:
OMBRE STEP BY STEP