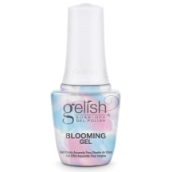
Blooming Gel is one of those innovative formulations that make creating nail art super simple. While we've all seen the basic Blooming Gel techniques in action (mostly flowers), wow your clients by incorporating some more inventive and stylish techniques into your repertoire to increase your bottom line.
In case you aren't familiar with it, Blooming Gel is a thin viscosity product that allows gel polish to disperse — or “bloom” — on top of it, creating unique designs. Depending on how many colors you use and what tools you manipulate it with, you can use Blooming Gel to create all different types of nail art looks. But first, Gelish Nail Artist Erin Eng offers some basic Do's and Don'ts.
- DO only work on one nail at a time; this prevents the design from over spreading. Once you're happy with the design, put the nail in the lamp to cure.
- DON'T apply Blooming Gel too thick, otherwise the design won't spread correctly and the nail will end up looking clumpy.
- DO use gel polish only. Gelish Art Form Gels are too thick to work with Blooming Gel.
Tropical Waters
Combine the soothing colors of a tropical ocean with a hint of sparkle to create a beautiful watercolor design.
- Apply two coats of Radiance Is My Middle Name as the base color.
- Apply one coat of Blooming Gel to the entire nail.
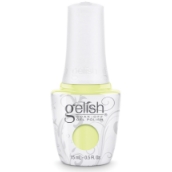
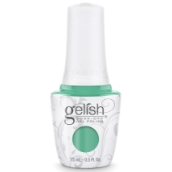
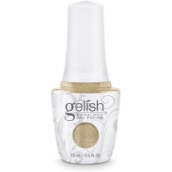
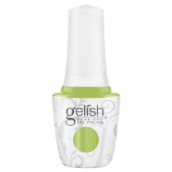
- Add a drop of each color to the nail: A Tribe Called Cool, A Mint of Spring, Give Me Gold, and Into The Lime-Light.
- Gently swirl the colors together, allowing the Blooming Gel to do the work for you.
- Once you're happy with the design, cure under your LED light.
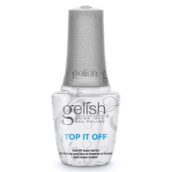
- Finish with a layer of your Gelish top coat of choice.
Turquoise Tortoise
Create tortoise shell and alligator patterns quickly and easily thanks to Blooming Gel.
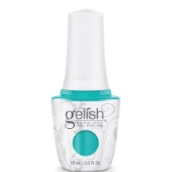
- Apply two coats of Gelish A Tribe Called Cool as the base color.
- Apply one coat of Blooming Gel to the entire nail.
- Add small drops of Gelish Black Shadow around the nail and allow the Blooming Gel to let them spread. No need to use a brush here; the Blooming Gel will do the work for you!
- Cure, then finish with a layer of Gelish top coat.