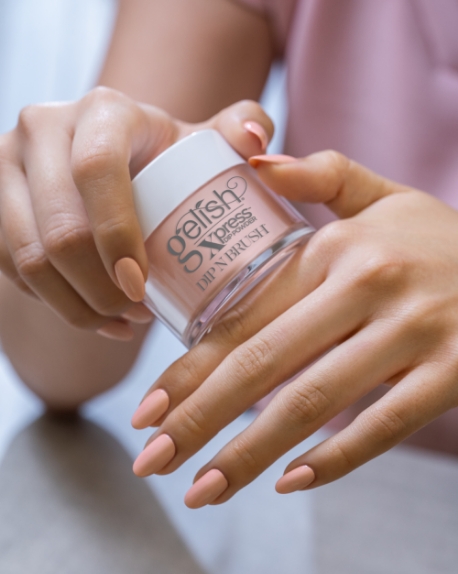
Dip manicures have exploded in popularity, with many clients opting for it over gel polish for its long-lasting and durable wear. Plus, nail techs love it for the quick service that gets clients in and out the door in no time. But dip can be tricky; there are many techniques that can and should be implemented in your service to ensure long-lasting, lift- and chip-free results. Here, Gelish Nail Artist, Erin Eng provides a few essential tips that can really up your dip game.
1.
Base Coat Tips
- Remove excess base coat from your brush before applying it to the nail by wiping it on the neck of the bottle. A lot of base coat seems like it will make it easier to dip, but too much product will cause a thick and uneven application.
- The key to even base coat application is to apply it in fewer strokes and utilize the self-leveling capabilities.
2.
Powder Tips
- Mix your dip powder first before application. The product tends to settle and can look patchy if it's not mixed properly before use.
- When dipping the nail into the powder, quickly dip the nail in and remove it — don't use any extra back-and-forth movements — then tap the finger to remove any excess powder from the nail.
- Make sure to brush off any excess powder after each dip.
3.
Application Tips
- For the first application, apply base coat to the middle of the nail and about halfway between the cuticle and free edge, covering 1/3 of the nail surface. Immediately dip the nail into the powder and tap off excess. Then, repeat the base coat application, overlapping the previously dipped area and expanding outward a bit. This technique is similar to building the apex. Finally, fill in the remaining empty spaces on the nail using a controlled, even application. Repeat if necessary.
- Use an orangewood stick to clean up around the cuticles after each application.
4.
Finishing Tips
- Always use a good amount of activator after you've finished the powder application.
- You must apply activator before you can begin any filing of buffing.
- If the nails are nice and smooth after your application, you can skip filing and buffing and move straight to applying two layers of top coat. If not, after buffing, cleanse the nail and apply activator once again, then continue with two layers of top coat. Finish by massaging cuticle oil into the skin around the nail.


